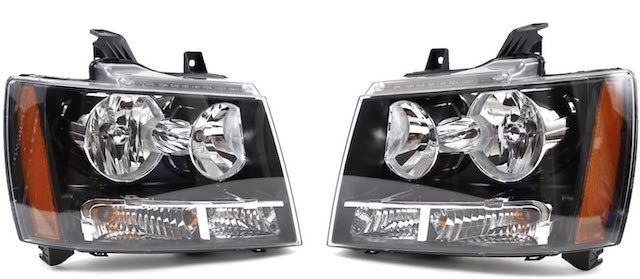
How To Replace A GM Headlight
If you need guidance on replacing a headlight on your GM vehicle, you came to the right place. Replacing a headlight on a GM vehicle is somewhat of a straightforward process. Yet, it's time consuming and there are many steps involved.
The headlight replacement process varies between GM models. Some models have similar processes, while other models have completely different processes. Sometimes the same model can have different processes, depending on the year. For example, the headlight assembly on 2003-2004 GM trucks and SUVs (like the Escalade) is different from the assembly on 2005-2006 GM trucks and SUVs.
If you're wondering how to replace the GM headlights on your model, we can provide a general overview of the process. We'll also include three specific examples below.
What Tools Will You Need?
The set of tools you'll need to get the job done depends on your GM model. You won't need any special tools, though. Most likely you would only be unfastening screws and bolts. You would need basic tools like:
- 10 mm socket with ratchet
- A Phillips screwdriver
- A flathead screwdriver
A General Overview Of The GM Headlight Replacement Process

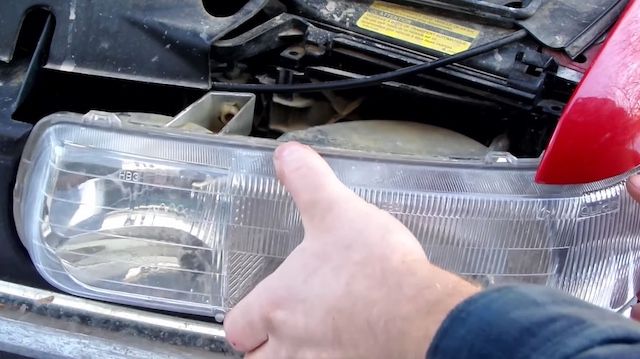
Image Credit: FoxKnowHow
Like we mentioned earlier, the process varies between models. The general idea is to:
- Remove anything that's in the way (like the front bumper). Sometimes you may be able to move the part(s) out of the way instead of completely removing them.
- Unfasten the headlight housing.
- Disconnect the wiring from the headlight.
- Remove the headlight.
- Install the new headlight.
- Put everything back together.
Here are a few specific examples:
1. Headlight Replacement: Chevy Impala (2006-2016)
- Open the hood.
- There's a white clip holding the headlight housing. Remove it.
- Remove the bolt on top of the headlight housing.
- Remove the headlight housing. It pops out, so you'll have to tug on it a bit to pop it out.
- Disconnect the wiring.
- Install the new headlight assembly in the reverse order of removal.
2. Headlight Replacement: GMC Sienna (2007-2013)
- Pop the hood.
- Remove the panel on top of the grille. There are clips holding it in place.
- There are a few bolts in the wheel well right behind the headlight assembly. Remove them.
- With the bolts off, pull back the panel and then remove the bolt on the headlight housing.
- There are two screws or bolts on top of the headlight housing.
- Remove the headlight housing. You may need to use some force to remove it.
- Disconnect the connectors from the headlight housing.
- Install the new headlight housing in the reverse order of removal.
3. Headlight Replacement: Chevy Malibu (2013-2016)
- Pop the hood.
- Remove the screws along the top of the bumper cover.
- Remove the screws or clips from the wheel well.
- Remove the bumper just enough to access the headlight housing bolts. You don't need to take off the whole bumper.
- There are four bolts behind the bumper on the headlight housing. One bolt is on the lower part. Another one is on the side. There are two more on the top. Remove all of them.
- Remove the headlight housing.
- Disconnect the connectors from the headlight housing.
- Install the new headlight housing in the reverse order of removal.
Need Replacement Parts?

We're an authorized seller of genuine OEM GM parts. We have a full inventory of GM headlights and components here. You'll find the best prices with us, and we offer fast shipping! If you need help finding the right part number(s) for your GM model, you're welcome to contact us.


